Installing FreshRSS (for Free)

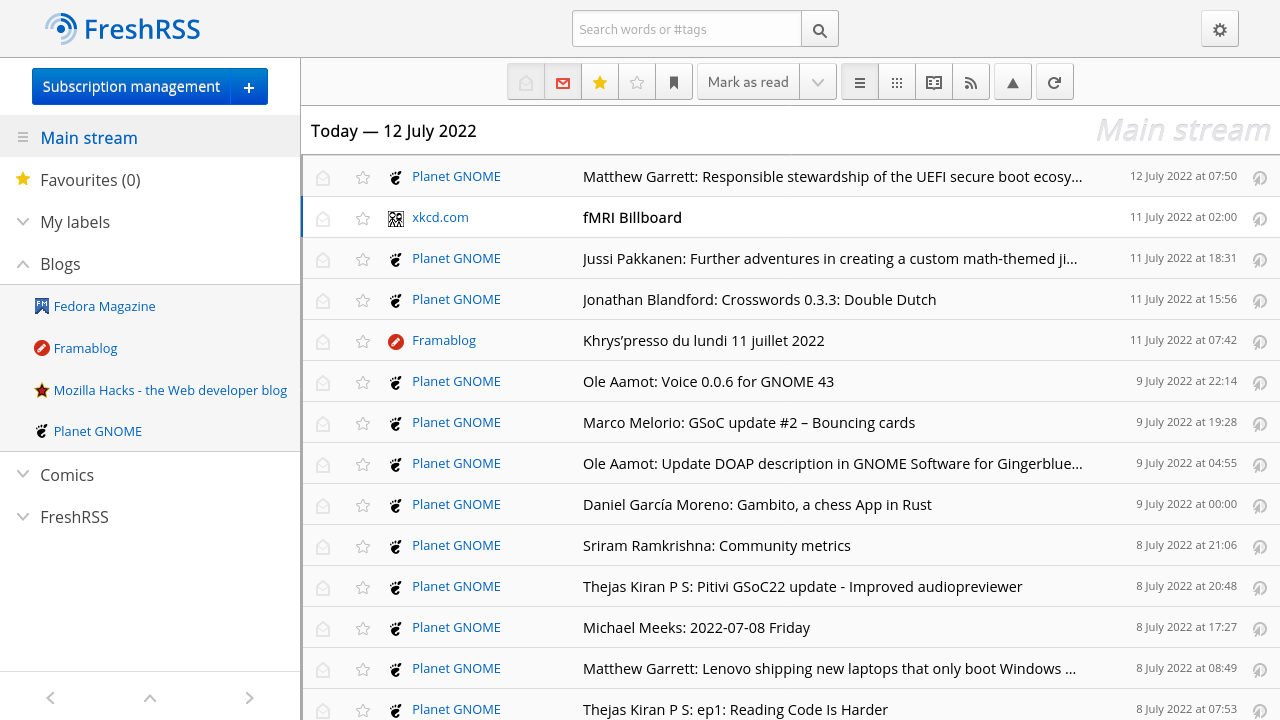
While developing Circles Reader, the most obvious choice for a Google Reader API compatible server was FreshRSS. Not only is it highly functional as an RSS aggregator, but it also includes a built-in web reader, making it useful for testing. Of course, the best part is that it is free.
Here's how to run FreshRSS (almost) for free on your own computer.
Prerequisites
Before you begin, make sure you have the following:
- Docker installed on your computer.
- A Cloudflare account. You can sign up for free.
- A domain name. If you don't have one, you can purchase it from providers like GoDaddy, Namecheap, etc.
Create a Local Tunnel Using cloudflared CLI
Refer to Create a locally-managed tunnel (CLI) for detailed instructions.
Cloudflare Tunnel allows you to securely expose your local server to the internet. Follow these steps:
- Download and install
cloudflared - Log in using your Cloudflare account
cloudflared tunnel login - Create a tunnel
cloudflared tunnel create <NAME><NAME>can be something likefreshrss. - Confirm that the tunnel has been created
cloudflared tunnel list - Configure the tunnel to route traffic
You can get thecloudflared tunnel route dns <UUID> <hostname><UUID>from the previous list and replace<hostname>with the subdomain you want to use.
Once you are done with all this, you'll probably have the <UUID>.json file in your .cloudflared directory under your home directory.
Create config.yml
- Create a directory for FreshRSS Docker, such as
freshrss, somewhere on your computer and copy the<UUID>.jsonfile there.mkdir ~/freshrss cd ~/freshrss cp ~/.cloudflared/<UUID>.json . - Create a file called
config.ymland put the following content.url: http://freshrss tunnel: <UUID> credentials-file: /etc/cloudflared/<UUID>.json
Configure Docker
Refer to Deploy FreshRSS with Docker for detailed instructions.
- Create
.envand replace variables with your ownADMIN_EMAIL=admin@example.net ADMIN_PASSWORD=freshrss ADMIN_API_PASSWORD=freshrss PUBLISHED_PORT=8000 DB_HOST=db DB_BASE=freshrss DB_PASSWORD=freshrss DB_USER=freshrss - Create
docker-compose.ymlservices: # freshrss freshrss: image: freshrss/freshrss:latest restart: unless-stopped ports: - 8088:80 logging: options: max-size: 10m volumes: - data:/var/www/FreshRSS/data - extensions:/var/www/FreshRSS/extensions environment: TZ: Asia/Seoul CRON_MIN: '3,33' DB_HOST: db FRESHRSS_INSTALL: |- --api_enabled --db-base ${DB_BASE} --db-host ${DB_HOST} --db-password ${DB_PASSWORD} --db-type pgsql --db-user ${DB_USER} --default_user admin --language en FRESHRSS_USER: |- --api_password ${ADMIN_API_PASSWORD} --email ${ADMIN_EMAIL} --language en --password ${ADMIN_PASSWORD} --user admin # common db: image: postgres:16 restart: unless-stopped logging: options: max-size: 10m volumes: - db:/var/lib/postgresql/data environment: POSTGRES_DB: ${DB_BASE:-freshrss} POSTGRES_USER: ${DB_USER:-freshrss} POSTGRES_PASSWORD: ${DB_PASSWORD:-freshrss} command: - -c - shared_buffers=1GB - -c - work_mem=32MB cloudflared: image: cloudflare/cloudflared:latest restart: unless-stopped command: tunnel --no-autoupdate --config /etc/cloudflared/config.yml run volumes: - ./config.yml:/etc/cloudflared/config.yml - ./<UUID>.json:/etc/cloudflared/<UUID>.json volumes: data: extensions: db:
Run FreshRSS using Docker Compose
You should probably have 4 files by now.
.env<UUID>.jsonconfig.ymldocker-compose.yml
Run using docker compose
docker compose up -d
Once the server is up, you can connect to FreshRSS locally using http://localhost:8080 and remotely using https://<hostname>.